Every one of the 35 Battle City stages, from the first training field to the final Galaxian map. For each stage you get a clean level map and a live gameplay view, plus short tactics on how to hold your base and clear the enemy tanks.
Open any stage to study its map full-screen and read the tactics, then jump straight into the game.
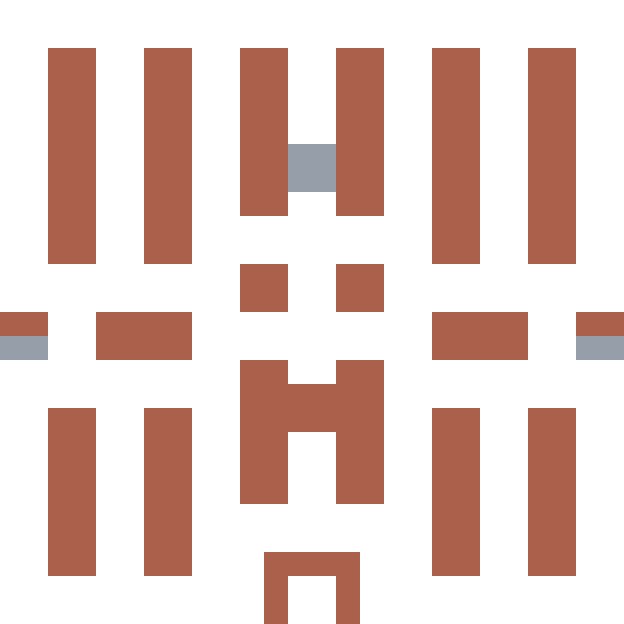
A perfect stage to get your bearings. The map is almost symmetrical and the brick walls hold the enemies back nicely.
READ TACTICS
A perfect stage to get your bearings. The map is almost symmetrical and the brick walls hold the enemies back nicely. The easiest approach is to gradually clear the central row and turn it into a line of fire: most of the tanks will drive straight into your shot on their own.
This is where the game first makes you watch several directions at once. The opening is the most dangerous part — heavy armoured tanks appear very early.
READ TACTICS
This is where the game first makes you watch several directions at once. The opening is the most dangerous part — heavy armoured tanks appear very early. Playing solo, it is better not to chase enemies around and to stay closer to the centre and the base; with two players the map splits neatly into a left and a right zone of responsibility.
There is a very handy spot next to the steel wall just left of centre: from there you can control the middle and the right half of the field.
READ TACTICS
There is a very handy spot next to the steel wall just left of centre: from there you can control the middle and the right half of the field. The main trap is a fast tank slipping along the left edge while you are busy with the enemies in front of you. Sometimes a single breakthrough like that is enough to ruin a perfectly started game.
The map looks like a picture out of Libble Rabble, but it plays easier than it looks. Plenty of brick limits the enemy routes, so a good central position lets you meet most tanks in advance.
READ TACTICS
The map looks like a picture out of Libble Rabble, but it plays easier than it looks. Plenty of brick limits the enemy routes, so a good central position lets you meet most tanks in advance. It gets harder toward the end, when armoured enemies remain on a cramped field and there is almost no room to dodge.
The river splits the field and does part of the defensive work for you: the enemies cannot simply spread across the whole map.
READ TACTICS
The river splits the field and does part of the defensive work for you: the enemies cannot simply spread across the whole map. A good spot sits in the upper-right area under the steel wall — from there it is convenient to meet the advancing tanks. The downside of that position shows when a power-up drops on the far side of the map: decide whether it is really worth driving after.
One of those stages where the right position decides almost everything. Dig in roughly in the centre and you can control the passages on both the left and the right,…
READ TACTICS
One of those stages where the right position decides almost everything. Dig in roughly in the centre and you can control the passages on both the left and the right, forcing enemies to come onto your line of fire one by one. The main thing is not to wreck your own comfortable defence with needless shots at the walls.
The steel walls turn the map into a maze and make it hard to swing from one flank to the other. Solo, it is safer to play from the base and react to real breakthroughs rather than chase every tank.
READ TACTICS
The steel walls turn the map into a maze and make it hard to swing from one flank to the other. Solo, it is safer to play from the base and react to real breakthroughs rather than chase every tank. With two players the stage is noticeably easier: one can work the centre and the left, the other can hold the right approach to the base.
The base has no usual steel shield right in front of it — that is the map's key feature. A good defensive spot is directly above the base, below the first strip of…
READ TACTICS
The base has no usual steel shield right in front of it — that is the map's key feature. A good defensive spot is directly above the base, below the first strip of water: from there it is easy to meet the central enemies. On this stage, chasing a distant power-up often costs more than the power-up itself.
The steel blocks create long shooting lanes. You can settle under the upper-left steel wall and meet tanks as they come onto the horizontal line.
READ TACTICS
The steel blocks create long shooting lanes. You can settle under the upper-left steel wall and meet tanks as they come onto the horizontal line. If your tank is already fully upgraded, a much more aggressive strategy works better — push up top and meet enemies almost as soon as they appear.
The map forms the recognisable Mappy pattern and is nearly symmetrical, but solo that symmetry tends to work against you: there is no single spot that controls the whole field.
READ TACTICS
The map forms the recognisable Mappy pattern and is nearly symmetrical, but solo that symmetry tends to work against you: there is no single spot that controls the whole field. You have to keep switching between flanks. In two-player mode everything changes — each takes a side, and the water reliably separates the lines of attack.
The first genuinely nerve-wracking forest stage. Large patches of green hide not only the tanks but also the moment an enemy has already reached a dangerous lane.
READ TACTICS
The first genuinely nerve-wracking forest stage. Large patches of green hide not only the tanks but also the moment an enemy has already reached a dangerous lane. Watch the right half of the map especially closely: here it pays more to keep covering the approaches to the base than to try to play a pretty attacking game.
After the previous stage this map feels almost fair: there is little cover for the enemy and you can see what is happening.
READ TACTICS
After the previous stage this map feels almost fair: there is little cover for the enemy and you can see what is happening. The enemy roster, however, is serious — lots of rapid-fire and armoured machines. What wins here is not aggression but careful shooting from range and refusing pointless head-on duels.
The long side corridors work against the enemy: tanks head into them and end up on fairly predictable routes.
READ TACTICS
The long side corridors work against the enemy: tanks head into them and end up on fairly predictable routes. So at the start of the fight it matters most to deal with the enemies coming through the centre. Once the central pressure eases, the flanking tanks are much easier to pick off one at a time.
It is no accident the map is called Skull — its shape looks like one. What is nastier for the player is that the base is poorly protected in the centre, and the many…
READ TACTICS
It is no accident the map is called Skull — its shape looks like one. What is nastier for the player is that the base is poorly protected in the centre, and the many rapid-fire tanks quickly dismantle the brick defence. This is a great stage for two players; solo, keep checking whether a direct path to the base has opened up.
A forest maze, ten fast tanks and eight armoured ones — there will be no comfortable rest here. The strongest strategy with a sufficiently upgraded tank is to break…
READ TACTICS
A forest maze, ten fast tanks and eight armoured ones — there will be no comfortable rest here. The strongest strategy with a sufficiently upgraded tank is to break upward and intercept enemies right by their spawn points. Get stuck in the forests in the middle of the map and the enemy turns the fight into chaos far too easily.
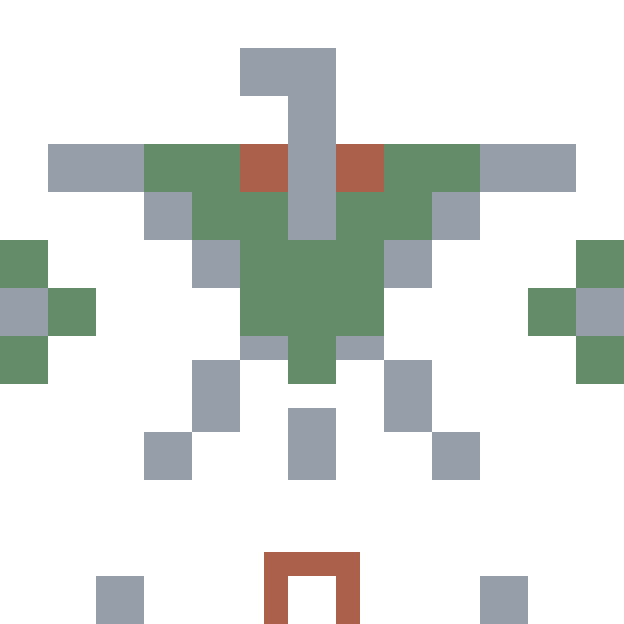
This Easter-egg map shaped like a praying mantis looks harder than it plays. Despite all the forest, most of the enemies here are ordinary, so after the tough Stage 15 the level feels like a breather.
READ TACTICS
This Easter-egg map shaped like a praying mantis looks harder than it plays. Despite all the forest, most of the enemies here are ordinary, so after the tough Stage 15 the level feels like a breather. Use it: calmly collect useful power-ups and try not to lose your tank's upgrade before the stages ahead.
Ice appears for the first time here. The main danger is not so much the enemies as your own momentum: the tank keeps sliding after the command, and a perfectly timed…
READ TACTICS
Ice appears for the first time here. The main danger is not so much the enemies as your own momentum: the tank keeps sliding after the command, and a perfectly timed move easily turns into rolling out right under a shot. Do not make sharp attacks on the long ice stretches, and use the steel blocks in the centre as landmarks and cover.
Walls and many turns turn this stage into a series of near-point-blank shootouts. The right flank is partly sealed off, so the enemy movement stays predictable for a long time.
READ TACTICS
Walls and many turns turn this stage into a series of near-point-blank shootouts. The right flank is partly sealed off, so the enemy movement stays predictable for a long time. A well-upgraded tank is especially valuable here: being able to quickly clear the walls in your way lets you create your own favourable lines of fire.
The map seems fairly ordinary until the enemies start fanning out down the many corridors leading downward.
READ TACTICS
The map seems fairly ordinary until the enemies start fanning out down the many corridors leading downward. The best solution is to take the horizontal line just above centre as early as possible and intercept them there. Let several tanks slip lower and, instead of one front line, you will have to defend many approaches to the base at once.
One of the most dangerous stages for the base. The right flank is especially nasty — from there the enemy can reach the base quickly.
READ TACTICS
One of the most dangerous stages for the base. The right flank is especially nasty — from there the enemy can reach the base quickly. Do not linger far up top: here it matters more to keep seeing who has already started heading down toward the lower part of the map.
The map resembles Pooka from Dig Dug, but you certainly could not call it cute. The forest hides flank attacks, and the central path to the base is defended mostly by…
READ TACTICS
The map resembles Pooka from Dig Dug, but you certainly could not call it cute. The forest hides flank attacks, and the central path to the base is defended mostly by brick, which the rapid-fire enemies quickly turn into a passage. On this stage the base must stay in your attention at all times — literally one missed tank can end the game.
The open field gives good visibility but forgives almost no mistakes: fast tanks can suddenly turn up exactly where you were not expecting them.
READ TACTICS
The open field gives good visibility but forgives almost no mistakes: fast tanks can suddenly turn up exactly where you were not expecting them. The steel structure in the centre serves as a temporary anchor point, but you will not be able to sit by it the whole fight. It is especially important here to shoot and immediately change direction.
One of the most interesting maps: the steel walls form the silhouette of a falcon. Their complex layout gets in the enemy's way too — the tanks also wander among the…
READ TACTICS
One of the most interesting maps: the steel walls form the silhouette of a falcon. Their complex layout gets in the enemy's way too — the tanks also wander among the obstacles for a long time, so defending near the base is surprisingly effective. The central forest, on the other hand, is best avoided without a reason: the enemy there is visible only when it is sometimes already too late.
The lower half of the map is too open, and the ice makes manoeuvring near your own base even nastier.
READ TACTICS
The lower half of the map is too open, and the ice makes manoeuvring near your own base even nastier. It is hard to find a position where you can calmly hold for long. The best approach is to play off movement: spot the direction of a threat in advance and start repositioning earlier than usual, allowing for the slide.
One of the game's most unpleasant mazes: the walls break the field into separate zones, the right flank is almost isolated, and there are especially many armoured tanks among the enemies.
READ TACTICS
One of the game's most unpleasant mazes: the walls break the field into separate zones, the right flank is almost isolated, and there are especially many armoured tanks among the enemies. Do not try to control the whole map at once. Build a convenient firing corridor near the base and gradually shift your defence to where the enemies actually start breaking through.
The thin lines of steel walls create a dangerous effect: sometimes the enemy can already shoot at you while a good return position is still awkward.
READ TACTICS
The thin lines of steel walls create a dangerous effect: sometimes the enemy can already shoot at you while a good return position is still awkward. So trying to actively hunt across the whole map often ends with a random hit taken. It is safer to play from defence, letting enemies into pre-chosen corridors near the lower part of the level.
Another very dangerous stage for defending the base. The narrow passages gradually funnel a large part of the enemies toward the centre — that is both a problem and a hint.
READ TACTICS
Another very dangerous stage for defending the base. The narrow passages gradually funnel a large part of the enemies toward the centre — that is both a problem and a hint. Do not chase lone tanks around the edges: wait for them to enter the central corridors and use those tight spots as a natural trap.
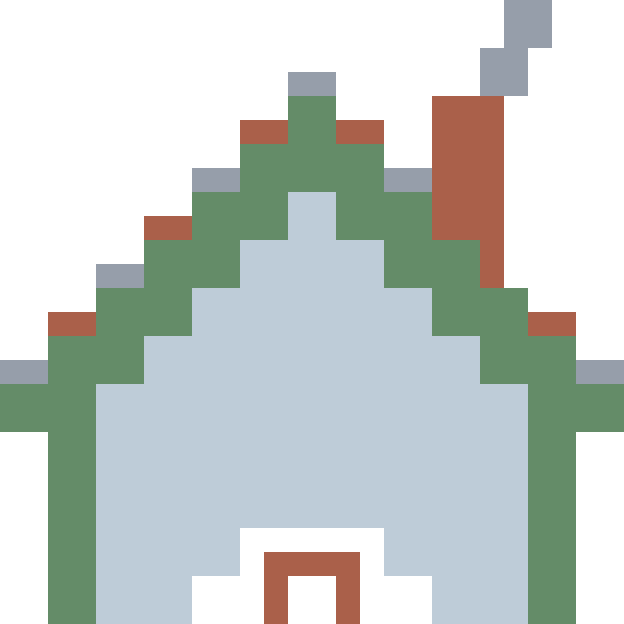
The map earned the fan name House and really does look like one. Ice covers most of its area; the enemies are relatively weak, but control itself becomes your main opponent.
READ TACTICS
The map earned the fan name House and really does look like one. Ice covers most of its area; the enemies are relatively weak, but control itself becomes your main opponent. Do not try to sharply correct your movement on the slippery stretches — better to choose a long safe path in advance and stay clear of the enemy's line of fire.
Forest, water and walls make the map confusing, yet there is an excellent central position: just below the middle, under the second steel wall from the left.
READ TACTICS
Forest, water and walls make the map confusing, yet there is an excellent central position: just below the middle, under the second steel wall from the left. From there it is convenient to control both directions. The main nuisance is an armoured tank that has already reached the left flank: in the tight space there may simply not be enough time to destroy it.
The forest here is a real opponent. It is easy to lose not only your tank but also a flying shell in it, so the usual reaction-based play works worse.
READ TACTICS
The forest here is a real opponent. It is easy to lose not only your tank but also a flying shell in it, so the usual reaction-based play works worse. A good defensive zone sits a little to the left and above the base. And a grenade or a timer on this stage can change the whole battle — those power-ups are worth the risk a bit more often than usual.
The many water barriers slow the enemy down and make the tanks gather at the same few passages. Do not rush to drive toward such a group head-on: wait for a good angle,…
READ TACTICS
The many water barriers slow the enemy down and make the tanks gather at the same few passages. Do not rush to drive toward such a group head-on: wait for a good angle, edge onto the line of fire and take the machines apart one by one. The water here is more your ally than an obstacle.
There is a lot of ice, but most of it is where you really do not need to go. Far more important is the central horizontal line under the big steel wall — a convenient line of defence.
READ TACTICS
There is a lot of ice, but most of it is where you really do not need to go. Far more important is the central horizontal line under the big steel wall — a convenient line of defence. The nastiest moment comes with the armoured tanks: if you weather their pressure and do not let them break downward, the rest of the level is noticeably calmer.
The combination of complex steel structures and forest in the centre makes attacking too risky. The enemies spend a long time finding their way down to the lower part of…
READ TACTICS
The combination of complex steel structures and forest in the centre makes attacking too risky. The enemies spend a long time finding their way down to the lower part of the map, so it is more effective to play from the base and react to the one dangerous flank. You do not have to see every enemy — it matters more to understand which passages it can even use to reach the base.
The next-to-last map earned the name Devil, and by difficulty it fits. Ten fast tanks make it impossible to calmly hold one position, so a timer and a grenade are especially valuable here.
READ TACTICS
The next-to-last map earned the name Devil, and by difficulty it fits. Ten fast tanks make it impossible to calmly hold one position, so a timer and a grenade are especially valuable here. It is better to quickly cut down the number of enemies on the field than to try to build a perfect static defence.
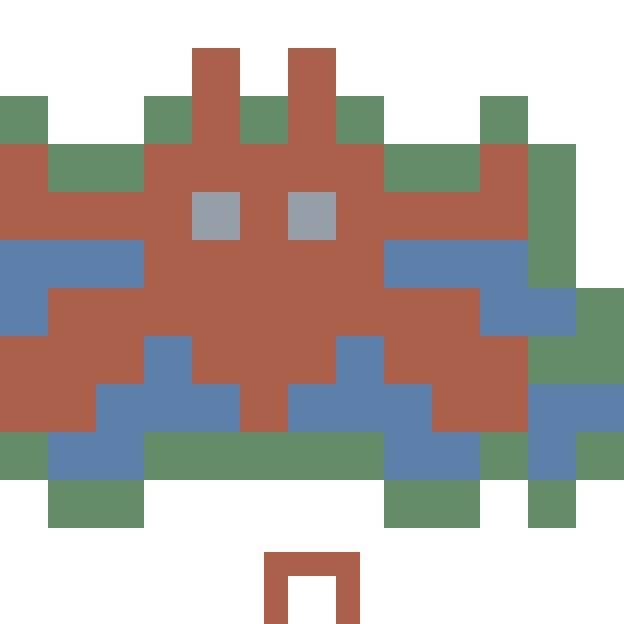
The final, unique map forms the Galaxian pattern and turns out, surprisingly, not to be the hardest. The thick brick masses hold the enemies back for a long time and…
READ TACTICS
The final, unique map forms the Galaxian pattern and turns out, surprisingly, not to be the hardest. The thick brick masses hold the enemies back for a long time and give you time to choose a direction of attack. It is especially interesting to play through the right flank: while the enemies deal with the walls, you can seize the initiative and force the fight far from the base.
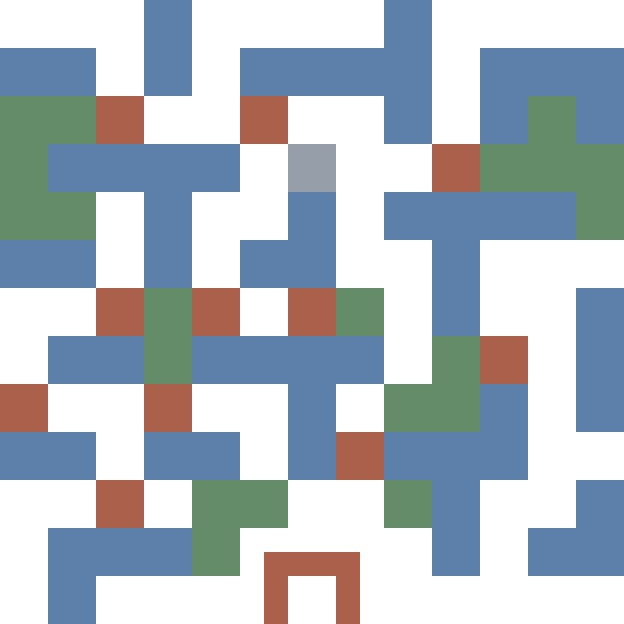
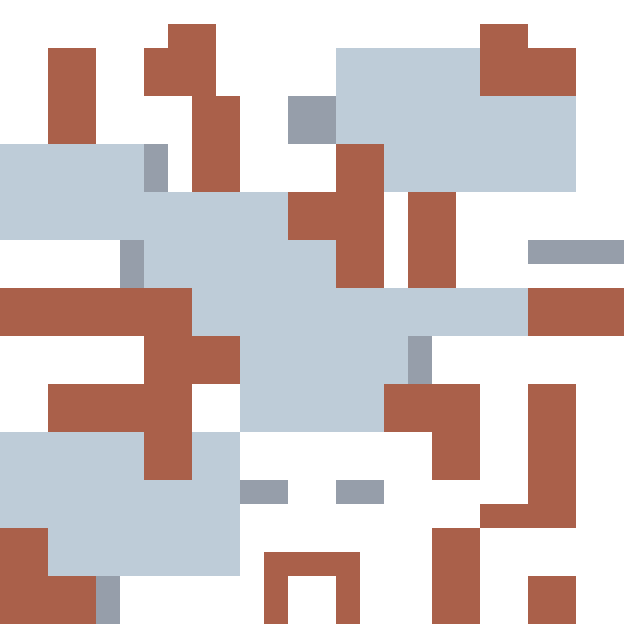
These images are generated directly from the game's own level data and its original sprites — the same brick, steel, water, forest and ice tiles the game itself uses.
The map view is the pure layout of each stage with the live base; the gameplay view is a plausible action scene built on top of that layout. They are not recordings of a specific match, and this project is not affiliated with the original publisher.